Monday, November 29, 2010

Make It Monday: Makeovers!


If you’re anything like me, you surely have at least a few items that always go back in the box when you unpack your holiday décor.  These are things that you’ve had forever, that look like they’ve seen better days, that don’t match what you have now, and they just seem better suited for decorating the inside of the holiday storage box than your home.

I’ve been accumulating a few of these things for a while now, and this year, in keeping with my “simplified holiday” theme first seen here, I decided it was time to give these things a makeover.  That’s right, it’s Makeover Day at b.bar!

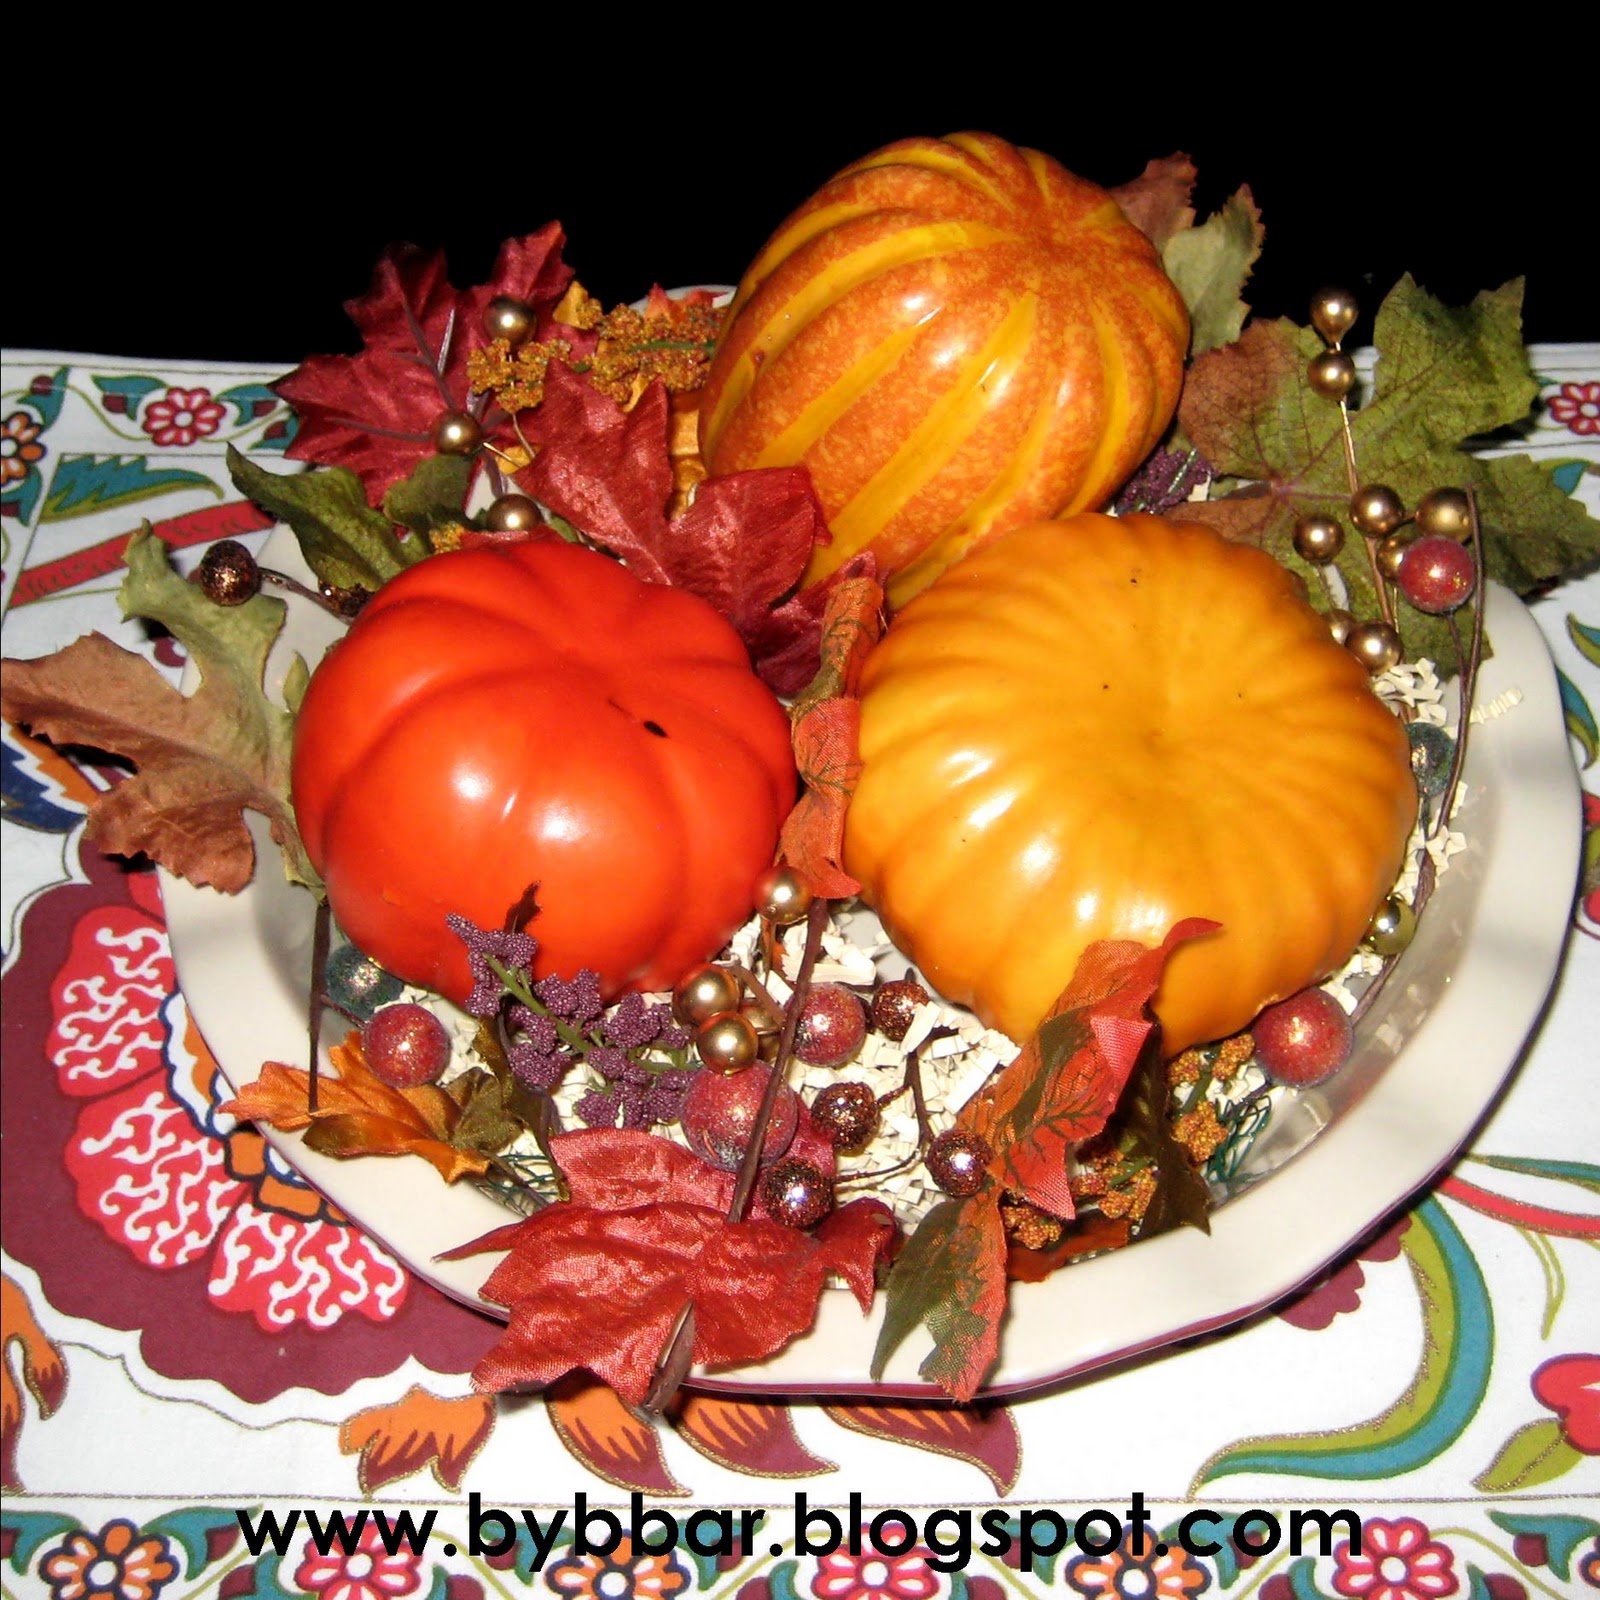
First, I gathered up all the items in need of a new look.


Then I took to the garage for some spray paint magic.  I know I originally said I was keeping with a basic white palette, but my white spray paint was not covering at all the silver spray paint looked so pretty, that I decided silver was a nice accent to the white palette.

Just in case you’re new to the spray paint phenomenon, here are a few tips to keep in mind:

  1. I never always clean the items thoroughly before painting.
  2. Invest in a spray paint handle, available at most hardware shops.  It just snaps onto the can and will save your index finger from a great deal of pain, and will prevent paint from getting all over your hand.
  3. Shake the spray paint can excessively before using.  And when you think you’ve shaken it enough, turn it upside down and shake it some more.  And while you’re painting, it won’t hurt to pause every few minutes to shake it again.
  4. Spray in short, even strokes from side to side.  Remember that it’s better to do multiple thin coats then have drip marks from trying to do a coat that’s too heavy.
  5. If the nozzle clogs, turn the can upside down and spray until the stream becomes clear.  This should clear the inside of the nozzle, then just wipe the front of the nozzle with a cloth.
After all that, you can sit back and celebrate all your hard work as you admire your “brand new” stuff!  Everything now has a fresh, cohesive, sparkling look, and I can't wait to display my new holiday décor.


What are you making over this season?


Cheers!
Betsey


Thursday, November 25, 2010

Party Time Thursday: Many Thanks


It’s a different kind of party today at b.bar – the kind where the hostess (that’s me!) wants to celebrate the many wonderful people in her world.  In honor of Thanksgiving, I wanted to take the time to THANK YOU all for your support of this new endeavor of mine.  B.bar is growing faster than I could have imagined, and I am so grateful for the love and kindness that everyone has given me.  I truly appreciate each and every one of you and I am so happy to have you as a part of b.bar’s beginning.

A big, huge, sincere Thank You, and Happy Thanksgiving!


Cheers!
Betsey

Tuesday, November 23, 2010

Serve It Up Tuesday: Cold Day, Warm Drink


Since most people will be so busy on Thanksgiving day preparing all the yummy goodies for the big feast, here’s a simple drink that you can make ahead of time for your guests to enjoy as they come in from the cold.

Hot Buttered Punch
(From the Everything Slow Cooking for a Crowd Cookbook)

Makes about 10 cups

¾ cup brown sugar
4 cups water
¼ teaspoon salt
¼ teaspoon nutmeg
½ teaspoon cinnamon
½ teaspoon allspice
¾ teaspoon ground cloves
2 1-pound cans jellied cranberry sauce
1 quart pineapple juice
16 sticks cinnamon bark
16 small pats butter

Combine the sugar, water, salt, spices, cranberry sauce and pineapple juice in the slow cooker.  Cover and heat on a low setting for 3 to 4 hours.  Stir a few times throughout to blend in the cranberry sauce as it melts.  Provide the cinnamon sticks and butter pats to garnish individual servings.  Keep the butter chilled, ready for guests to drop in their drink, just before enjoying.


Cheers!
Betsey

Wednesday, November 17, 2010

Whatever Wednesday: A Phoenix Invitation


I’m really excited for this event happening here in Phoenix, so I couldn’t help but share with you.  This Saturday, November 20, the Arizona Veterans Foundation is presenting “A Tribute to U.S. Special Operations” at Turf Paradise.  The event starts at 11:00 AM with horse races and festivities going on all day.  There will be a silent auction featuring some FABULOUS Christmas wreaths provided by yours truly!  Admission is FREE for those with a military ID or for children under 12, and only $2 for everyone else!  Proceeds for this event will benefit Special Operations Association charities and The Children First Academy for Homeless Children.  This is a great (and inexpensive!) way to spend a lazy Saturday here in Phoenix, so come out for the fun!  For more info:  http://www.turfparadise.com/images/veteransdayposter.jpg.

If you’re super bummed that you can’t make it because you wanted your own b.bar Christmas wreath, have no fear, just click here!


Cheers!
Betsey

Monday, November 15, 2010

Make It Monday: Chalkboard Paint Inspirations

Tis the season… for getting sick!  I have been ill on and off since Halloween, and this past week, it really hit me hard and I haven’t even left the house in five days.  Please forgive me, but that means I haven’t made anything for Make It Monday.  So, instead, I’ve decided to feature some great projects that others have made.

Ok, so you've probably seen chalkboard paint everywhere these days.  Well, just in case you haven’t quite figured out what to do with it, here are four great ideas to inspire you!

The chalkboard chargers at Tatertots and Jello are adorable and can be used for many occasions:


I love the pilgrim placeholders at Jellybean Junkyard:


 And the pumpkin placeholders over at Greenbean’s Crafterole:


And I can’t wait to try out these silver platters seen at Etcetorize:


Have you tried using chalkboard paint before?  I’d love to hear about it!


Cheers!
Betsey


Thursday, November 11, 2010

Fall... Over?


I have a confession.  I am so over fall.  If it were up to me, I’d have the Christmas decorations out by now, but if my husband came home to ornaments and lights in early November, he would probably just fall… over.  It’s just that we don’t really have a traditional autumn season here in sunny Arizona, so the red and orange fall décor just seems kind of out of place.  Remember the easy-peasy autumn centerpiece from here?  Well, I officially realized I’m over fall when my silly hubby changed it from this:


To this:


And I didn’t even notice.  For days.  That’s when I knew that I was over. it. 

Thus began the hunt for something that, with a few simple changes, can transition from Halloween and Thanksgiving to Hanukkah and Christmas, and even on to New Year’s (we like holidays around here).  That’s a lot of different holidays to cover with one décor theme.  But, just think about this:  if you could have a basic theme to carry your home throughout the entire holiday season, imagine how easy that would be for you!  You could still host all your favorite holiday parties, but cut waaaay back on the time, energy and money you use to change out your décor for each separate holiday!

So, with that in mind, I’ve decided to start with a basic white palette, and go from there.  I’ve challenged myself to only make or buy things for my home that will fit into this new palette way of thinking.  And as I do, I’ll be sharing those ideas with you so that you can simplify your own party décor this season.

I’ll keep you posted!  And if you’ve already mastered the art of the “simplified holiday”, I’d love to hear about it!

Cheers!
betsey


Tuesday, November 9, 2010

Serve It Up Tuesday: Mashed Potato Mash Up


With Thanksgiving just a few short weeks away, I’m already dreaming about all the delicious food we’ll be eating – it is, after all, my favorite part of the day!  My family tends to stick to the traditional dishes, but if you’re looking to mix it up this year, you came to the right place.  In today’s edition of Serve It Up Tuesday, I’m featuring a Mashed Potato Mash Up, with twists on the classic dish.  Why not try out one of these recipes at this year’s Thanksgiving feast?
 
Garlic Mashed Potatoes
(from The Party Girl Cookbook)

Serves 10 - 12

5 lbs russet potatoes
1 cup peeled garlic cloves
¾ cup whipping cream or whole milk
3 tablespoons butter/margarine
Salt and white pepper

Peel potatoes and cut into quarters.  Boil the potatoes until tender in a covered pan.  In a separate pan, over low heat, combine garlic, cream and butter.  Cover and stir occasionally until garlic is tender, about 10 minutes.  In a food processor, puree garlic mixture.  Drain potatoes, return to pan, and add garlic puree.  Mash with a potato masher or mixer until smooth.  Add salt and pepper to taste. 


Mashed Potatoes with Bacon and Cheddar
(from marthastewart.com)

Serves 8 – 10

5 lbs russet or Yukon gold potatoes
8 oz bacon (about 10 slices)
1 package (8 oz) cream cheese, softened
½ cup (1 stick) unsalted butter, melted
1 cup sour cream
1 small onion, grated on the large holes of a box grater, juice reserved
½ bunch fresh chives, finely chopped (about ¼ cup)
2 ½ cups grated cheddar cheese (about 6 oz)
2 teaspoons coarse salt
½ teaspoon freshly ground pepper

Preheat oven to 350 degrees.  Peel potatoes, and cut into 1-inch chunks.  Place in a large saucepan, and add enough cold water to cover by about 2 inches.  Bring to a boil over medium-high heat, and reduce to a simmer.  Cook until tender and easily pierced with a paring knife, about 20 minutes.  Transfer to a colander to drain; return to pan, cover and set aside. 

Meanwhile, heat a large skillet over medium heat.  Add bacon, and cook until crisp and browned, turning once.  Transfer to paper towels to drain; let cool, and crumble into pieces.  Using a fork, mash the potatoes in pan until light and fluffy.  Add the cream cheese, butter, and sour cream, and stir until combined and smooth.  Add the onion and any onion juice, chives, 2 cups cheese, half the bacon, salt, and pepper.  Stir until well combined. 

Transfer to a buttered 3-quart baking dish.  Top with remaining 1/2 cup cheese.  Bake until top is slightly golden and potatoes are heated through, about 30 minutes.  Remove from oven; garnish with remaining bacon.  Serve immediately.


Chipotle Smashed Sweet Potatoes
(from foodnetwork.com)

Serves 8

4 large sweet potatoes, peeled and cubed
4 tablespoons unsalted butter
2 whole canned chipotle pepper in adobo sauce, chopped
2 teaspoons adobo sauce from can of peppers
1 teaspoon salt

Put cubed potatoes into steamer basket and place steamer into a large pot of simmering water that is no closer than 2 inches from the bottom of basket. Allow to steam for 20 minutes or until the potatoes are fork tender. Add butter to potatoes and mash with potato masher. Add peppers, sauce, and salt and continue mashing to combine. Serve immediately.

Cheers!
betsey

Wednesday, November 3, 2010

Glamorous Wreath Preview


I just can’t wait for everyone to see the latest wreath that I’m working on for my etsy shop – it’s so glamorous!  I’m delighted to be launching b.bar this holiday season with Christmas wreathes – wreathes are my favorite!  But more on that later…

For now, I’m giving you just a peek at b.bar’s newest design. 


You know you love it!  Don’t worry – you can find it in my shop this weekend!

Cheers!
betsey


Monday, November 1, 2010

Make It Monday: Easy Peasy Autumn Centerpiece


It’s Make It Monday here at b.bar, and I’m going to show you how to make this Easy Peasy Autumn Centerpiece.


Super cute, right?  It literally took me 10 minutes to make. 


Start with a few inexpensive pumpkins or gourds.  Real, faux, whatever.  I bought mine in the Better Homes and Gardens fall section of Walmart, for just a buck a piece.  You’ll also need a container to hold the pumpkins.  I happened to have this red pie pan already in my kitchen, but you could use a charger plate, a loaf pan, a crystal bowl, a colander, etc.  First, I added some gift basket filler in the bottom of the pan just for fun, and put the pumpkins in.  Then I just started adding random fall-ish items that I had lying around from old projects, including leaves, twigs and beads.  If you don’t have these things lying around, just pick up a few at the dollar store or craft store – you won’t need much!  Just stick them in wherever you think they look nice to make the centerpiece look full.  Make sure the centerpiece looks good from all sides.  And that’s it!


Cheers!
betsey